Learn How to Find the Inverse of a Function Using 3 Easy Steps
The following step-by-step guide will show you how to find the inverse of any function! (Algebra)
Welcome to this free lesson guide that accompanies this Finding the Inverse of a Function Tutorial where you will learn the answers to the following key questions and information:
What is the inverse of a function?
What does the graph of the inverse of a function look like?
How can I find the inverse of a function algebraically?
How can I find the inverse of a function graphically?
This Complete Guide to Finding the Inverse of a Function includes several examples, a step-by-step tutorial and an animated video tutorial.

*This lesson guide accompanies our animated How to Find the Inverse of a Function in 3 Easy Steps video.
Want more free math lesson guides and videos? Subscribe to our channel for free!
Intro to Finding the Inverse of a Function
Before you work on a find the inverse of a function examples, let’s quickly review some important information:
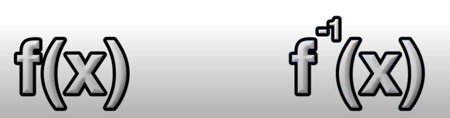
Notation: The following notation is used to denote a function (left) and its inverse (right). Note that the -1 use to denote an inverse function is not an exponent.
What is a function?
By definition, a function is a relation that maps X onto Y.
And what is the inverse of a function?
An inverse function is a relation that maps Y onto X.
Notice the switch?


You can think of the relationship of a function and its inverse as a situation where the x and y values reverse positions.
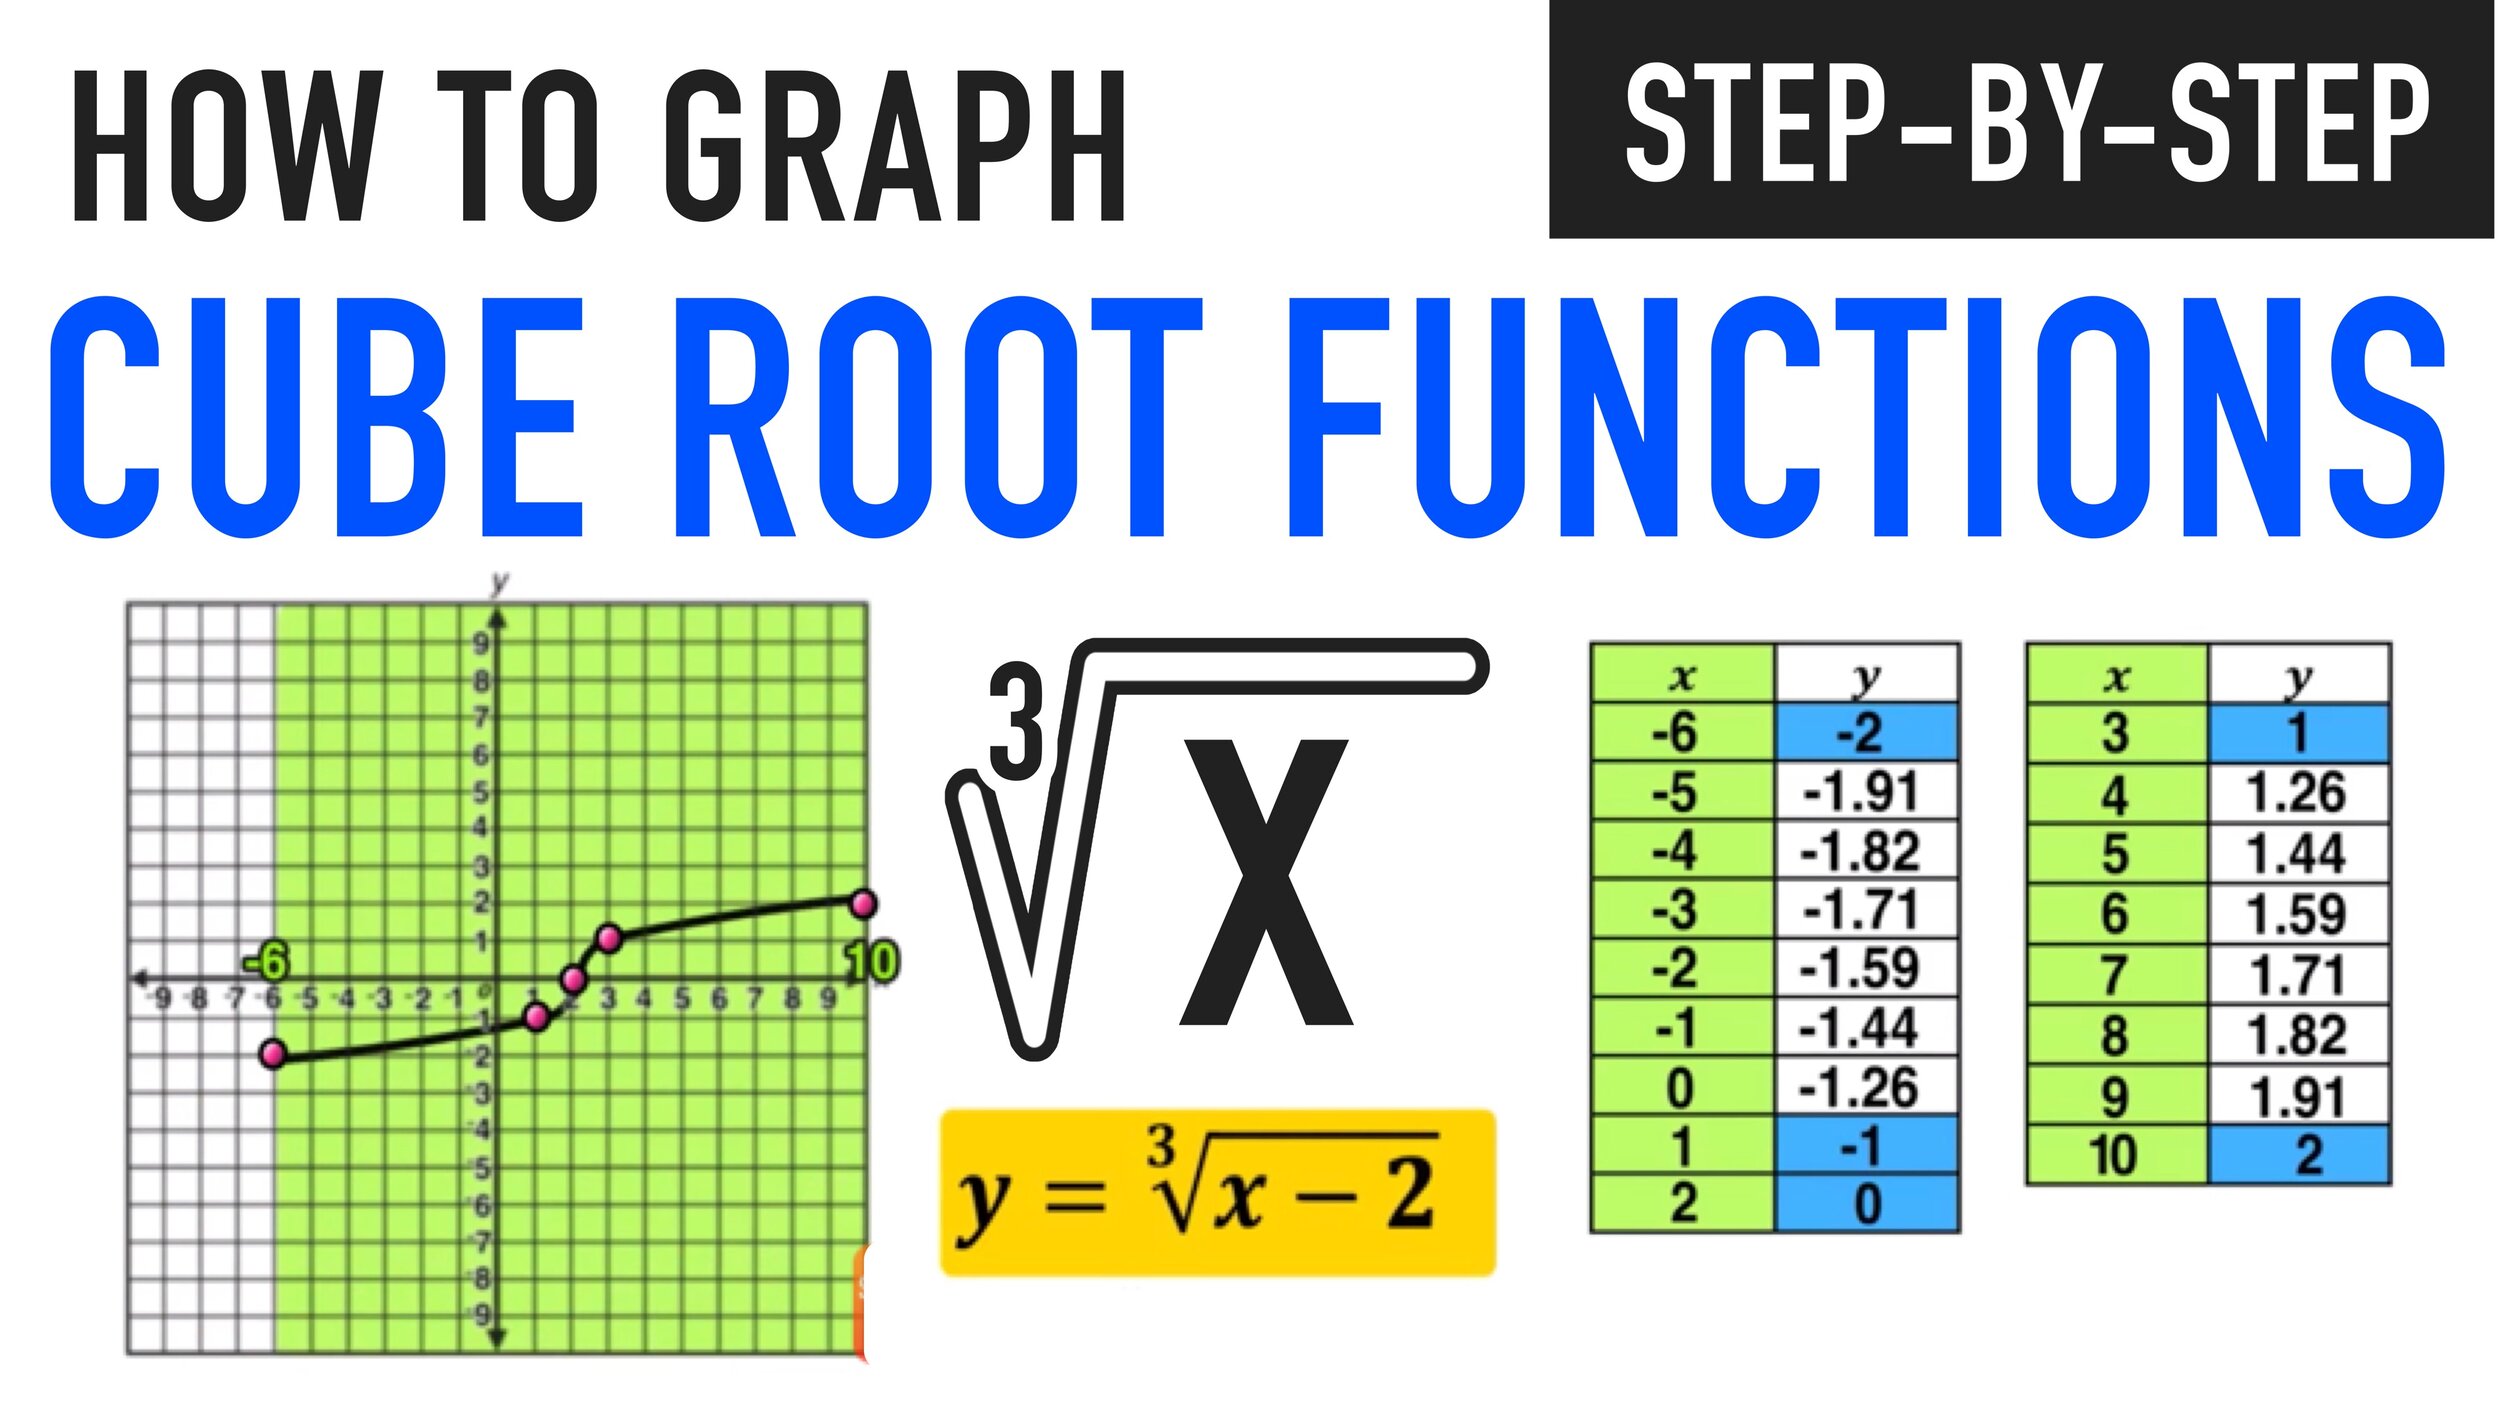
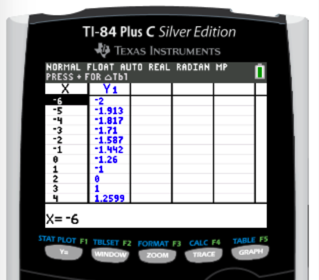
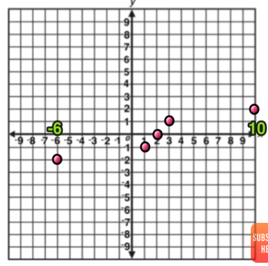
For example, let’s take a look at the graph of the function f(x)=x^3 and its inverse.

Take a look at the table of the original function and its inverse. Notice how the x and y columns have reversed!
Definition: The inverse of a function is its reflection over the line y=x.
Keep this relationship in mind as we look at an example of how to find the inverse of a function algebraically.
Finding the Inverse of a Function Example

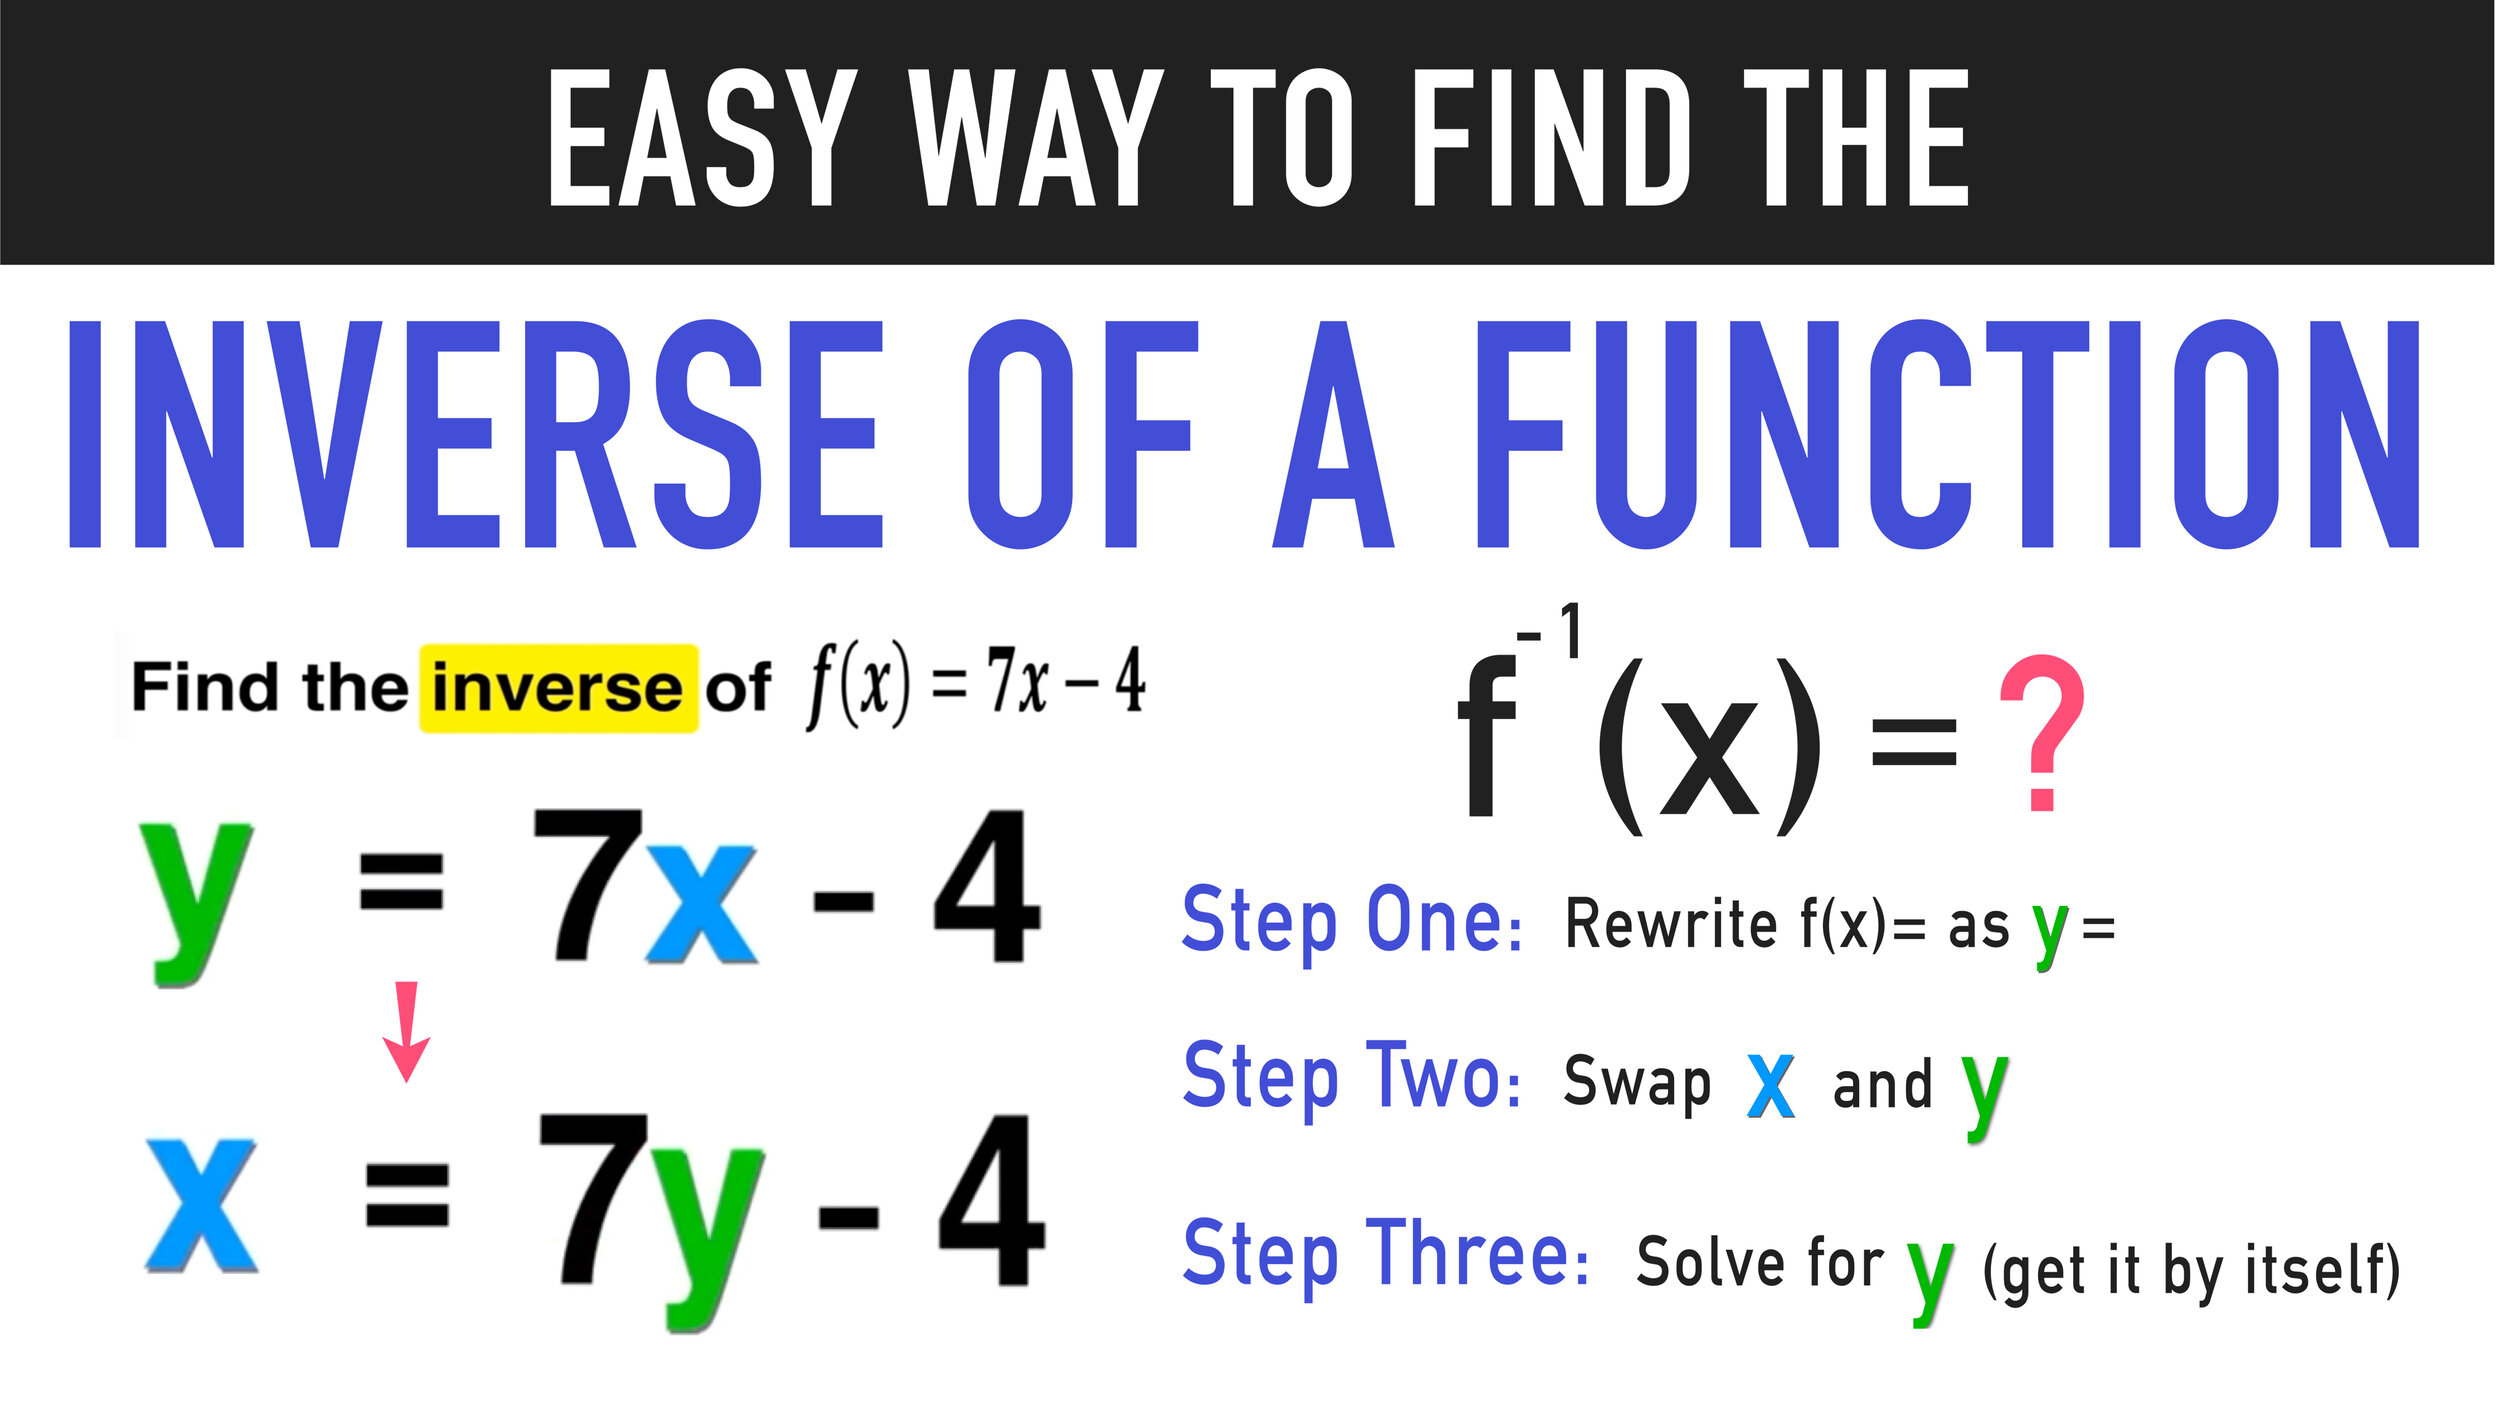
We will be using the following 3-step process that can be used to find the inverse of any function:

STEP ONE: Rewrite f(x)= as y=
If the function that you want to find the inverse of is not already expressed in y= form, simply replace f(x)= with y= as follows (since f(x) and y both mean the same thing: the output of the function):


STEP ONE: Swap X and Y
Now that you have the function in y= form, the next step is to rewrite a new function using the old function where you swap the positions of x and y as follows:

Original Function

New inverse function!
This new function with the swapped X and Y positions is the inverse function, but there’s still one more step!
STEP THREE: Solve for y (get it by itself!)
The final step is to rearrange the function to isolate y (get it by itself) using algebra as follows:


It’s ok the leave the left side as (x+4)/7

Once you have y= by itself, you have found the inverse of the function!
Final Answer: The inverse of f(x)=7x-4 is f^-1(x)=(x+4)/7

Graphs of Inverse Functions
Remember earlier when we said the inverse function graph is the graph of the original function reflected over the line y=x? Let’s take a further look at what that means using the last example:
Below, Figure 1 represents the graph of the original function y=7x-4 and Figure 2 is the graph of the inverse y=(x+4)/7

Figure 1

Figure 2
Now let’s take a look at both lines on the same graph. Note that the original function is blue and the inverse is red this time (Figure 3) and then add the line y=x to the same graph (Figure 4).

Figure 3

Figure 4
Can you see the reflection over the line y=x?
This relationship applies to any function and its inverse and it should help you to understand why the 3-step process that you used earlier works for finding the inverse of any function!
Still Confused?
Check out this animated video tutorial on how to find the inverse of any function!

Looking for more practice with functions?
Check out the following free resources:

Free Tutorial
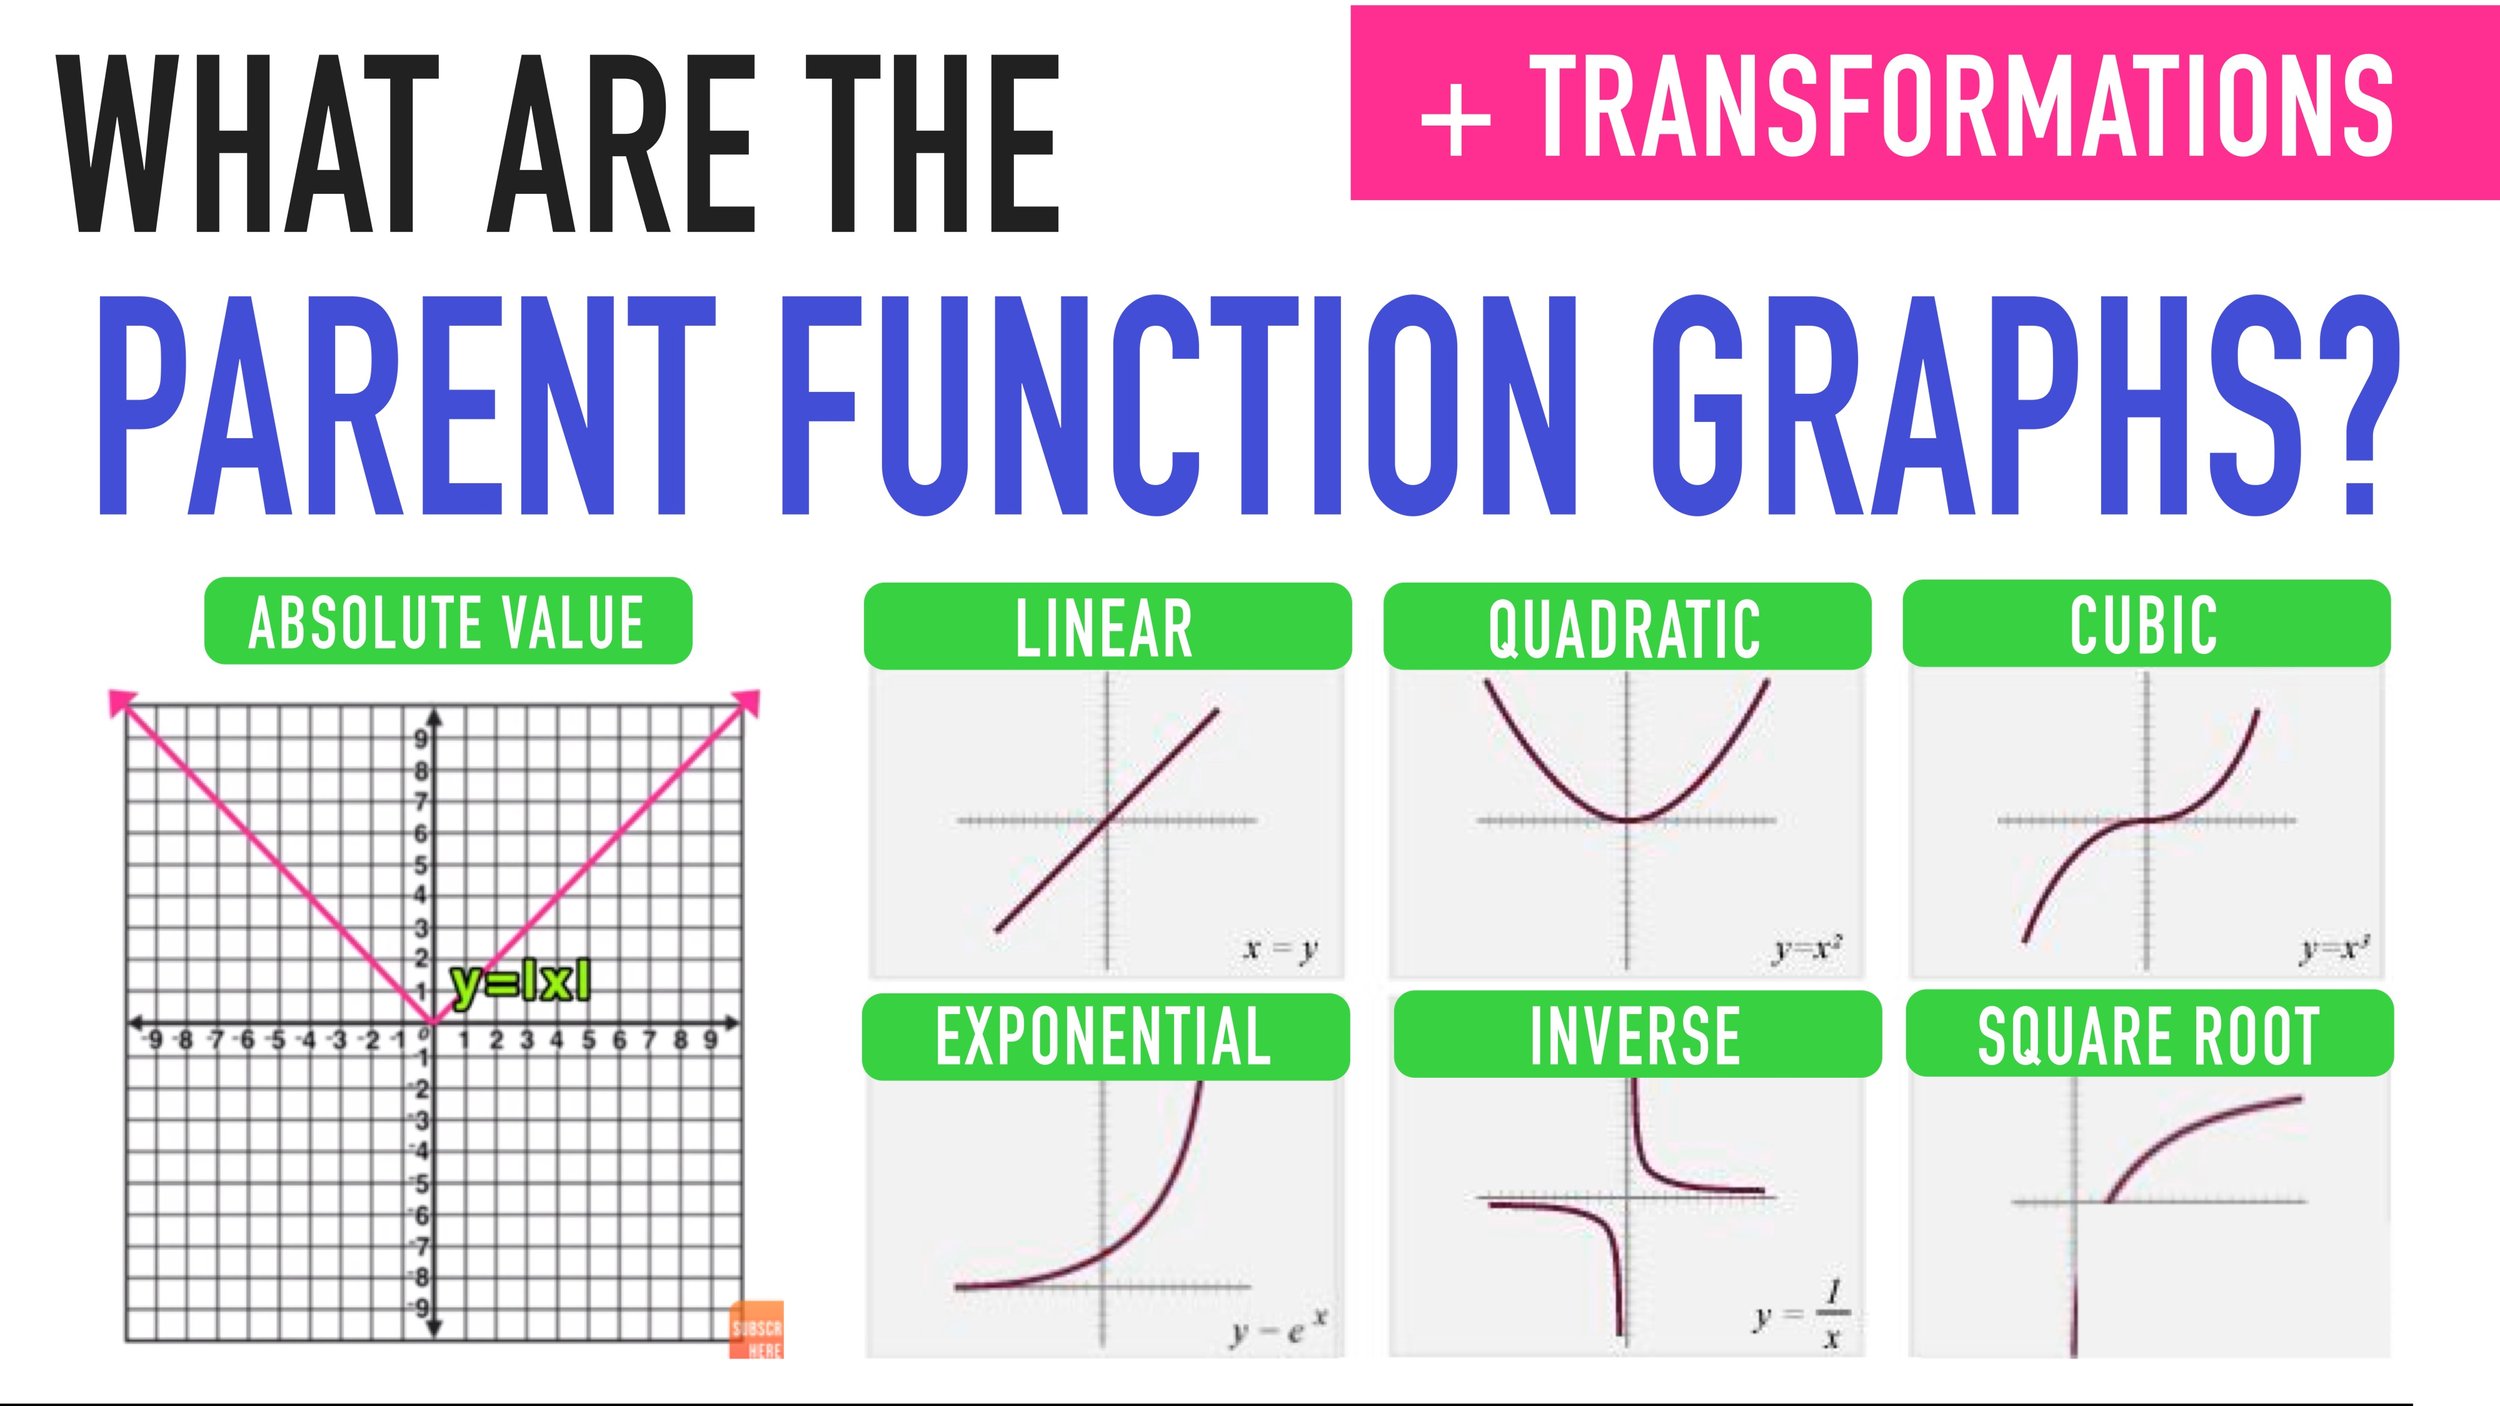
The Parent Function Graphs and Transformations!
How to Graph a Quadratic and Find Intercepts, Vertex, & Axis of Symmetry!
Keep Learning with More Free Lesson Guides:


Have thoughts? Share your thoughts in the comments section below!
(Never miss a Mashup Math blog--click here to get our weekly newsletter!)
By Anthony Persico
Anthony is the content crafter and head educator for YouTube's MashUp Math. You can often find me happily developing animated math lessons to share on my YouTube channel . Or spending way too much time at the gym or playing on my phone.