
Free Printable Ruler with Fractions
Free Printable Ruler with Fractions
Are you in need of a ruler with fractions to help you make exact measurements?
If so, you can use the text link below to download your free printable ruler with fractions as a PDF file. The pdf includes multiple rulers that you can cut out using a scissor and then use to make accurate measurements to the nearest eighth of an inch.
Click Here to Download Your Free Printable Ruler with Fractions

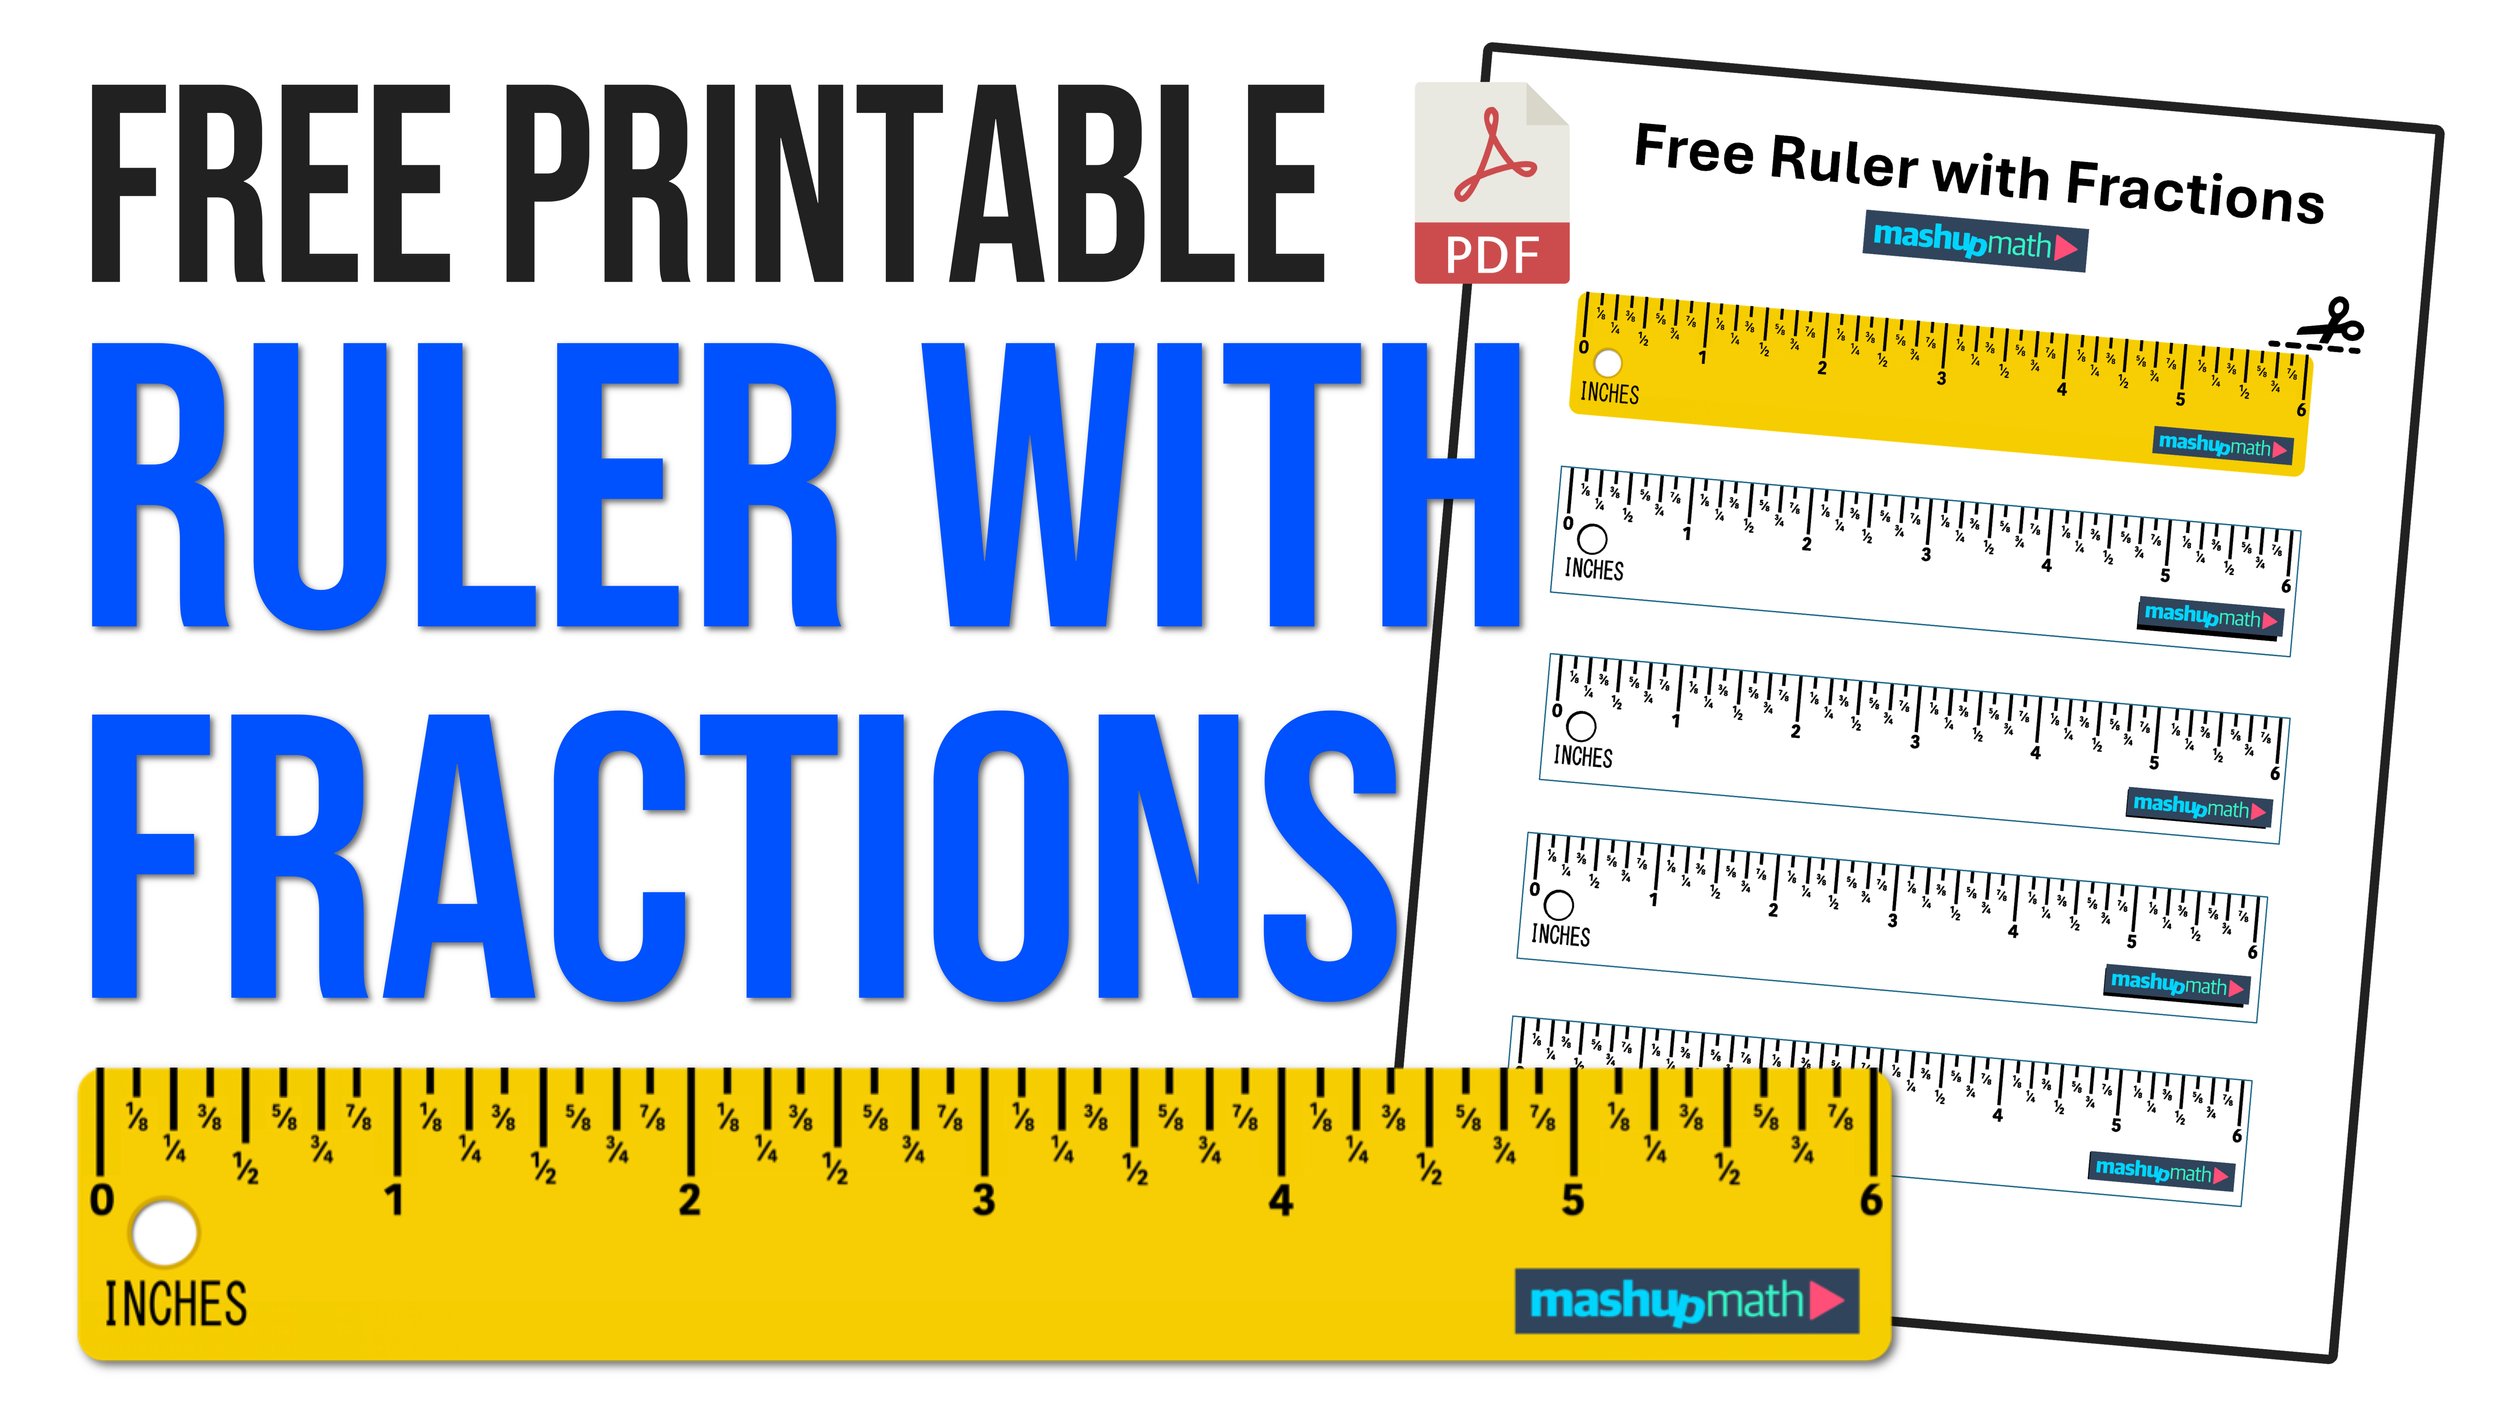
Preview: Ruler with Fractions (Image: Mashup Math)
Printing Instructions: To ensure that your rulers print out to exact proportions, it is essential that you print on standard US Letter Paper (8.5x11 inches) and that your printer’s settings are correctly assigned before you print the ruler with fractions pdf file. Before you print, make sure that your printer settings are set to portrait orientation (not landscape) and make sure that the scale is set to 100% size. Inputting the correct settings will ensure that the printable ruler will be exactly six inches long with perfect proportions. Note that many printers have a default “Fit to Page” print setting that will likely alter the scale of the printed ruler, making it an inaccurate measuring tool. You can verify whether or not your printed ruler is accurate by testing it against a standard ruler.
See the graphic in Figure 01 below for more detailed printer instructions.
Figure 01: Printable Rulers with Fractions Printing Instructions
Free Printable Ruler with Fractions: How to Use a Ruler
You can use the free printable ruler with fractions above to make exact measurements the same way that you would a typical wooden, metal, or plastic ruler.
Simply follow the printing instructions above to print out the free ruler with fractions PDF and then use a scissor to cut out one of the rulers and then follow the instructions below to start making measurements:
Once you have your ruler completely cut out, start by familiarizing yourself with the measurement lines on the ruler face. The longest lines mark the inch segments and they range from 0 to 6. In between each one inch segments there are 7 shorter lines that each represent fractions of an inch (one-eight or 1/8 to be precise). The line directly halfway between each one inch marker is the half-inch mark, followed by the quarter-inch mark, followed by the one-eight inch marks. Each of these divisions is labeled on your ruler with a simplified fraction.
To measure using a ruler with fractions, align the left end of the ruler with the edge of the object (directly at the zero inch mark). Then, observe the location of the other edge of the object and where it aligns with the ruler. The mark where the object ends on the ruler is where you will locate its measurement in inches. By understanding the fractional divisions on a ruler, you will be able to make accurate and consistent measurements.
Figure 02 below shows an example of how you could use a ruler with fractions to measure a mini-pencil.

Figure 02: Example of how to use a ruler with fractions to make accurate measurements. (Image: Mashup Math MJ)
Need some extra help with how to measure objects using a ruler? Check out our free video tutorial on YouTube.
Keep Learning:


